Introduction: Understanding Konjac Jelly Powder and Its Benefits
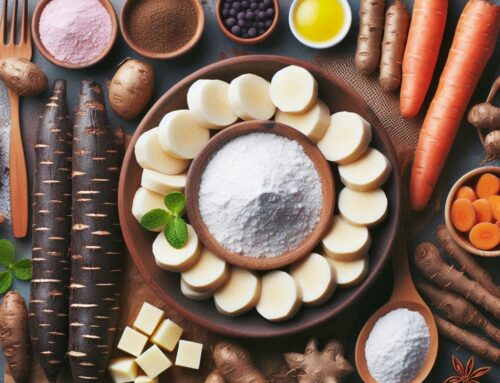
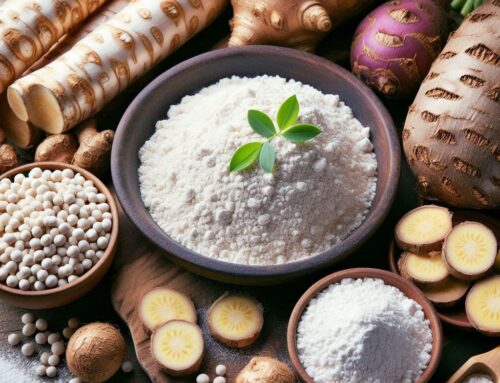
Konjac jelly powder is gaining popularity as a versatile ingredient in health-conscious kitchens around the world. Derived from the root of the konjac plant, this unique powder is known for its impressive health benefits and diverse culinary applications. One of the primary attractions of konjac jelly powder is its ability to act as a vegan gelatin alternative, making it an excellent choice for those following plant-based diets.
The health benefits of konjac are numerous. It is rich in glucomannan, a dietary fiber that has been linked to improved digestive health and weight management. This fiber helps promote a feeling of fullness, which can aid in reducing overall calorie intake—a valuable asset for those looking to maintain or lose weight. Additionally, konjac’s low-calorie profile makes it an ideal ingredient for creating guilt-free desserts that satisfy sweet cravings without compromising dietary goals.
Incorporating konjac jelly powder into your diet can be both simple and rewarding. Whether you’re crafting a refreshing low-calorie dessert or experimenting with new recipes, this versatile ingredient offers endless possibilities while supporting your health-focused lifestyle. With its combination of nutritional value and culinary flexibility, it’s no wonder that konjac jelly powder is becoming a staple in modern kitchens seeking both flavor and wellness.
Step 1: Gather Your Ingredients and Tools
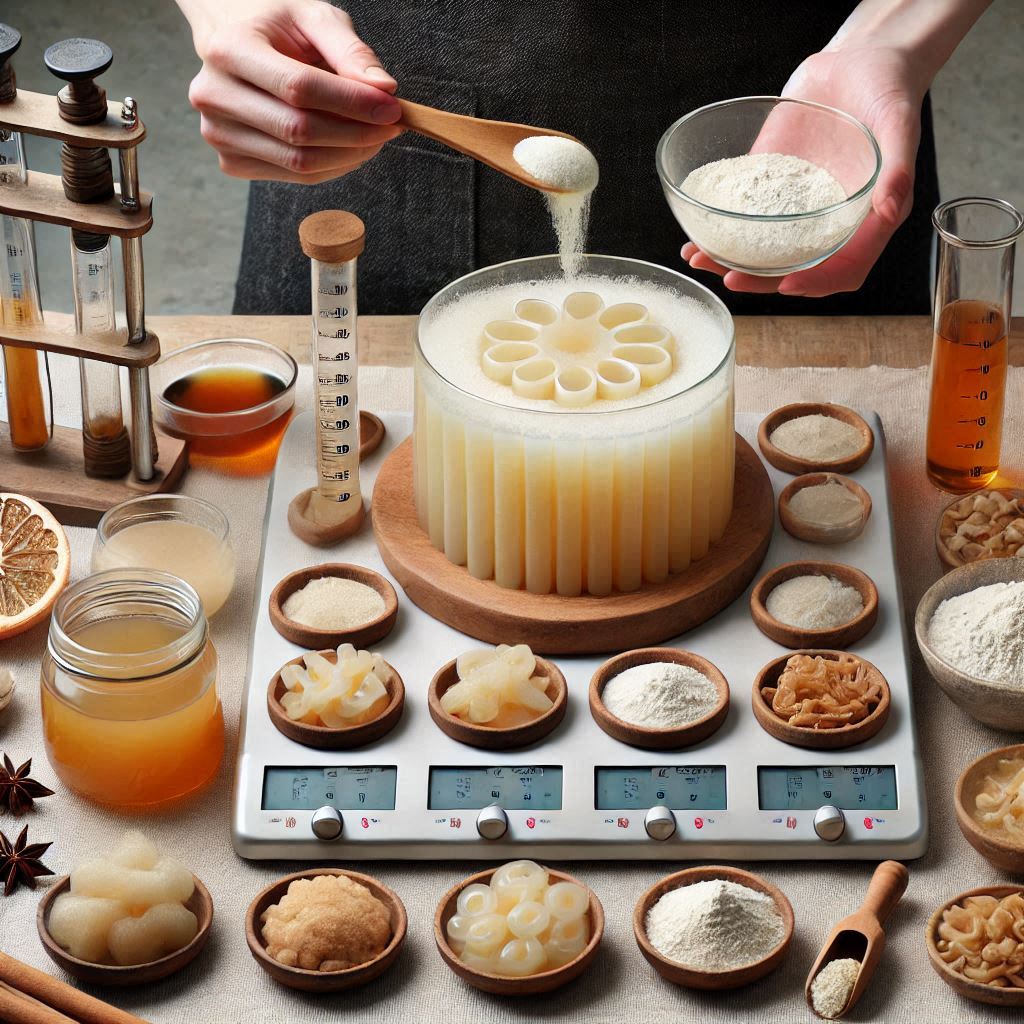
When embarking on the journey of making konjac jelly, the first and most crucial step is gathering all necessary ingredients and tools. This preparation ensures a smooth and efficient jelly-making process. To start, you’ll need the key ingredients for konjac jelly: konjac powder, which serves as the base, water to dissolve the powder, your choice of sweetener to add flavor, and any additional flavorings or colorings you prefer.
In addition to these ingredients, having the right kitchen equipment is essential. You’ll want to have a medium-sized saucepan for heating your mixture evenly. A whisk or spoon will be necessary for stirring the ingredients together thoroughly. For measuring precision, ensure you have measuring cups and spoons at hand. Once your mixture is ready, you’ll need molds or containers where your jelly can set; silicone molds are particularly popular due to their flexibility.
By organizing these ingredients and tools before you begin cooking, you streamline the process and set yourself up for success in creating delicious konjac jelly with ease.
Step 2: Mix the Konjac Powder with Water Properly
When it comes to preparing konjac powder, achieving the right consistency is crucial for the desired outcome. The process begins with understanding how to mix konjac powder effectively. A key factor in this step is maintaining the correct water to powder ratio. Generally, a common recommendation is to use about 1 gram of konjac powder per 100 milliliters of water, but this can vary depending on specific recipes or desired thickness.
To ensure that the konjac powder dissolves properly and avoids clumping, start by heating the water until it’s warm but not boiling. Gradually sprinkle the konjac powder into the water while continuously stirring with a whisk or spoon. This method helps in evenly distributing the particles and prevents them from forming lumps.
An important tip for dissolving konjac powder successfully is patience; allow it a few minutes to fully hydrate and thicken once mixed with water. Stirring constantly during this time will help achieve a smooth texture. By following these steps carefully, you can ensure that your mixture reaches its optimal consistency for any culinary application you have in mind.
Step 3: Add Sweeteners and Flavors of Your Choice
When it comes to crafting your own konjac jelly, the addition of sweeteners and flavors is where you can truly personalize your creation. Whether you’re looking for sugar alternatives for jelly or seeking natural sweeteners for healthy recipes, there are plenty of options available to suit your taste and dietary preferences.
For those aiming to reduce sugar intake without sacrificing sweetness, consider using natural sweeteners such as stevia or monk fruit. These sugar alternatives not only provide the desired sweetness but also come with the added benefit of being low in calories and having a minimal impact on blood sugar levels. Another popular choice is erythritol, a sugar alcohol that offers a similar taste profile to sugar but with fewer calories.
Flavoring konjac jelly opens up even more possibilities. You can infuse your jelly with various natural extracts like vanilla, almond, or citrus to create a unique taste experience. Fresh fruit juices or purees can also be incorporated for an additional burst of flavor and color. For those who enjoy experimenting in the kitchen, adding herbs such as mint or basil can add an unexpected twist that elevates the overall flavor profile.
By selecting the right combination of sweeteners and flavors, you can create a delicious and healthy konjac jelly tailored specifically to your liking. The key is to experiment with different ingredients until you find the perfect balance that satisfies both your palate and nutritional goals.
Step 4: Heat the Mixture to Achieve Desired Consistency
Heating the mixture correctly is a pivotal step in the cooking process of konjac jelly, as it directly influences the final texture and consistency of your creation. To achieve the perfect texture with heat, it’s essential to pay close attention to both temperature and timing.
Begin by gently heating the mixture over medium heat. Stir continuously to ensure even distribution of heat and prevent any lumps from forming. As you stir, you’ll notice the mixture gradually thickening—a sign that the konjac powder is activating and starting to gel.
Achieving perfect consistency requires patience; rushing this step can lead to uneven texture or incomplete gelling. Keep an eye on the mixture as it heats, looking for a smooth, glossy finish that indicates it’s ready. Once you reach this stage, remove it from heat promptly to prevent overcooking or burning.
By carefully managing this part of the cooking process, you’ll ensure your konjac jelly has a delightful texture that’s firm yet yielding—perfect for enjoying in various culinary applications.
Step 5: Cool and Serve Your Homemade Konjac Jelly Delight!
Once you have successfully prepared your konjac jelly, it’s time to move on to the final and exciting step: cooling and serving your homemade delight. The cooling process is crucial for achieving the perfect texture, so here are some tips to ensure your jelly sets beautifully.
Begin by allowing the konjac jelly mixture to cool at room temperature for about 30 minutes. This initial cooling phase helps prevent any drastic temperature changes that could affect the consistency. Once it has cooled slightly, transfer the jelly into a refrigerator-safe container or mold of your choice. Cover it with plastic wrap or a lid to prevent any unwanted flavors from seeping in during refrigeration.
Refrigerate the jelly for at least two hours, or until it is fully set. For those who prefer a firmer texture, leaving it overnight can enhance its firmness and make slicing easier. Remember that patience is key during this stage; rushing may result in a less than ideal outcome.
When it’s time to serve, presentation plays an important role in elevating your konjac jelly experience. For an elegant touch, consider garnishing with fresh fruit slices such as strawberries or kiwi, which not only add color but also complement the subtle flavor of the jelly. A sprinkle of edible flowers can provide a visually stunning contrast as well.
For serving suggestions, cut the konjac jelly into bite-sized cubes or use cookie cutters for fun shapes that appeal especially to children. Pairing these delightful pieces with a drizzle of honey or agave syrup can introduce an extra layer of sweetness without overpowering their delicate taste.
Whether you’re hosting guests or enjoying it solo, these cooling process tips and serving suggestions will ensure your homemade konjac jelly is both delicious and visually appealing—a true testament to your culinary creativity!
Conclusion: Enjoying Your Healthy and Delicious Homemade Treats!
Creating your own healthy and delicious homemade treats is not only a rewarding culinary experience but also a step towards a more nutritious lifestyle. By taking control of the ingredients you use, you can ensure that your snacks and desserts are free from unnecessary additives and excess sugars. This empowers you to make choices that align with your dietary needs and preferences, whether you’re focusing on reducing sugar intake, increasing fiber, or incorporating more whole foods into your diet.
Moreover, homemade treats allow for endless customization. You can experiment with flavors and textures to suit your taste buds while also catering to any dietary restrictions or allergies. The process itself can be enjoyable and educational—exploring new recipes, understanding ingredient substitutions, and learning about the nutritional benefits of different foods.
Incorporating these homemade delights into your routine doesn’t mean sacrificing taste for health; rather, it enhances both. From energy-boosting granola bars to decadent yet wholesome brownies made with natural sweeteners like honey or dates, the possibilities are vast. As you continue to explore this culinary journey, you’ll likely find yourself more connected to what you’re eating and how it impacts your well-being.
So go ahead—embrace the art of making healthy treats at home. Not only will you satisfy your cravings in a healthier way, but you’ll also gain the satisfaction of knowing exactly what’s in every bite you take. Enjoy the process as much as the outcome; after all, cooking is an adventure meant to be savored!


