If you’ve ever wondered how to make abacha from raw cassava, you’re about to discover just how simple and rewarding it can be. Abacha, a traditional Nigerian dish made from cassava, is a versatile snack or side that’s loved for its unique texture and bold taste. In this article, we’ll guide you through five straightforward steps to create this delicacy right in your kitchen. Making abacha at home isn’t just about saving money—it’s about enjoying a fresher, customizable version of a cultural classic. Whether you’re new to Nigerian cuisine or a seasoned foodie, this guide will show you how easy it is to transform raw cassava into a dish that’s sure to impress. Let’s dive in!
Why Make Abacha at Home?
Before we get into the steps, let’s talk about why this is worth your time. Store-bought abacha can be convenient, but it often comes with a higher price tag and added preservatives. By learning how to make abacha from raw cassava, you’ll cut costs—cassava is cheap and widely available—and enjoy a fresher, healthier result. Plus, you get to play chef, tweaking the flavors to match your preferences. Want it spicier? Add more peppers. Love veggies? Pile them on. The process is simple, the ingredients are accessible, and the payoff is a delicious dish you can proudly call your own. Ready to get started? Here’s how it’s done.
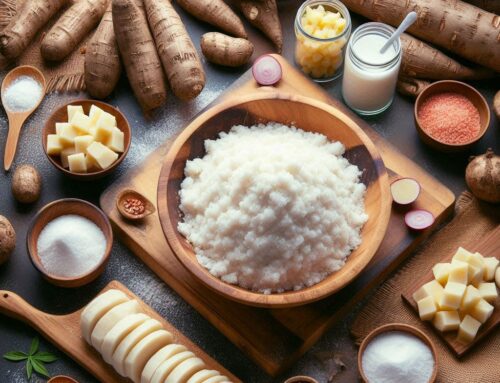
Step 1: Selecting and Preparing Raw Cassava
The foundation of great abacha is fresh cassava, so choosing the right roots is key. Head to your local market or grocery store and look for cassava that’s firm and heavy, with smooth, brown skin. Avoid any roots that feel soft, look shriveled, or have moldy spots—a fresh root should smell mildly earthy, not overpowering. Quality matters here, as it affects both taste and safety.
Once you’ve got your cassava, prep time begins. Grab a sharp knife and carefully peel off the brown outer skin, followed by the thin pink layer underneath. These layers contain natural compounds that need to be removed, so take your time. After peeling, rinse the cassava under cold water to clean off any dirt or debris. Then, chop it into manageable pieces—about 2-3 inches long—to make grating easier. If you’re using a hand grater, smaller chunks will save effort; if you’ve got a food processor, they’ll process smoothly. A quick tip: wear gloves while peeling to avoid skin irritation. With your cassava prepped, you’re set to move on.
Step 2: Processing Cassava into Abacha
Now comes the transformation—turning raw cassava into the base for abacha. This step involves grating and fermenting, two processes that define the dish’s texture and flavor. Start by grating the cassava. If you’re going traditional, use a hand grater to create a fine, wet pulp—run the pieces over the grater until they’re fully shredded. For a quicker method, pop the chunks into a food processor or blender with a splash of water and pulse until you get a smooth, slightly gritty consistency. Aim for uniformity; too coarse, and your abacha might feel lumpy.
Next, fermentation. This is where the magic happens, giving abacha its tangy edge and making it safe to eat. Scoop the grated cassava into a clean, breathable cloth—like cheesecloth or a burlap sack—and tie it up tight. Place it in a warm, dry spot (think a sunny corner or near a heater) for 2-3 days. The warmth kickstarts fermentation, breaking down toxins and adding that signature sour note. You’ll smell it—a faint sourness is a good sign! For a lighter flavor, ferment for 1-2 days; for a punchier taste, go the full 3. If liquid drips out, set the sack over a bowl or prop it up. It’s a hands-off step, but it’s essential for authentic abacha.
Step 3: Draining and Drying the Fermented Cassava
After fermentation, your cassava pulp is flavorful but soggy—time to dry it out. Draining and drying give abacha its signature chewy-crisp texture. Start by moving the fermented pulp into a fine mesh sieve or a clean cloth. Let it sit for 30 minutes to drain naturally, then gently press with your hands or a spoon to squeeze out extra liquid. The goal is to remove as much moisture as possible without mashing it.
Now, drying. Spread the drained pulp thinly on a large tray or baking sheet—thin layers dry faster and more evenly. If the sun’s out, place the tray outside in direct sunlight for 1-2 days, stirring every few hours to ensure even drying. No sun? Use your oven: set it to a low 150°F (65°C), spread the pulp on a tray, and dry for 3-4 hours, stirring hourly to avoid scorching. You’ll know it’s ready when it’s fully dry and crumbles easily between your fingers. Patience here pays off—properly dried cassava is the secret to great abacha.
Step 4: Seasoning and Flavoring Your Abacha
With your cassava now dried into abacha, it’s time to add the flavors that make it irresistible. Start by softening the dried strands—place them in a bowl of warm water for 10-15 minutes, then drain well. This rehydrates the abacha, making it ready to soak up seasonings.
For a classic taste, mix these in a large bowl:
- 2-3 tablespoons of palm oil (for richness and color)
- 1 small red onion, finely chopped
- 1 teaspoon ground crayfish (optional, for depth)
- Salt and pepper to taste
- A pinch of ogiri or iru (fermented locust beans) for umami
Add the softened abacha and toss everything together until it’s evenly coated. Want more? Throw in sliced garden eggs, chopped ugba (oil bean seeds), or fresh veggies like spinach or bell peppers. For heat, a bit of Scotch bonnet pepper works wonders. Taste as you mix, adjusting the seasoning to your liking. This step is where you can shine—customize your abacha to reflect your style.
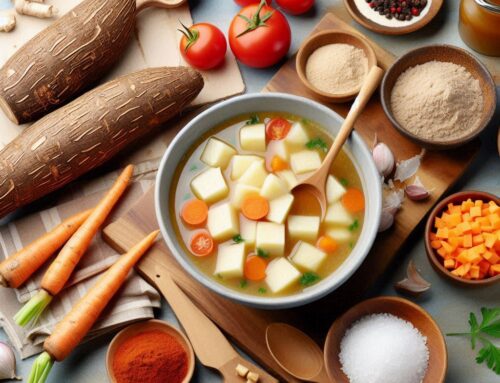
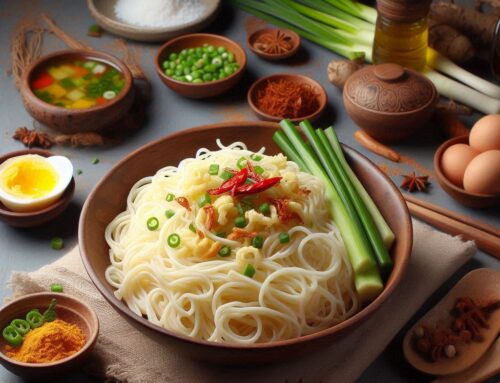
Step 5: Serving and Enjoying Your Homemade Abacha
Your abacha is ready to steal the show! Traditionally, it’s a standalone snack or a side dish, but it’s versatile enough for any occasion. For a classic serve, plate the seasoned abacha and top it with:
- Sliced boiled eggs
- Fried fish or smoked mackerel
- Fresh tomatoes and onions
- A drizzle of palm oil for extra decadence
Feeling creative? Pair it with a spicy pepper soup for dipping, or use it as a base for a veggie-packed salad. For a modern twist, serve alongside grilled chicken or shrimp. Abacha shines at gatherings—set out a big bowl and let everyone dig in—or enjoy it solo as a light, satisfying meal. The best part? You made it yourself, from raw cassava to a finished dish. Share it with loved ones and bask in the compliments.
Bonus Tips and Variations for Perfect Abacha
Ready to level up? Try these tips and twists:
- Texture Trick: Soak longer for softer abacha, or shorten it for more crunch.
- Flavor Pop: Add a splash of lime juice to cut through the richness.
- Veggie Boost: Skip the fish and pile on avocado, carrots, or kale for a plant-based take.
- Spicy Kick: Mix in chili flakes or spicy peanut butter for a fiery edge.
- Storage Tip: Keep leftovers in an airtight container in the fridge for up to 3 days—revive with a sprinkle of water and a quick microwave zap.
These ideas let you tweak abacha to your taste, making every batch a little adventure.
Conclusion
There you have it—five simple steps to master how to make abacha from raw cassava at home. From selecting fresh cassava to serving up a flavorful plate, you’ve got everything you need to create this Nigerian gem. It’s affordable, fresh, and totally customizable, proving that homemade beats store-bought any day. Recap time: pick and prep your cassava, process it with grating and fermentation, drain and dry it, season it to perfection, and serve it with flair. Now it’s your turn—grab some cassava and give it a go. Experiment with toppings, share your creation, and let us know how it turns out. Happy cooking!