Introduction: The Delicious World of Cassava Egg Balls
Cassava egg balls are a delightful traditional snack that has captured the taste buds of many around the world. Originating from regions where cassava is a staple, these savory treats offer a unique twist on conventional snacks by combining the rich, starchy texture of cassava with the protein-rich goodness of eggs. The process begins with peeling and boiling the cassava until it reaches a soft consistency, then mashing it into a smooth dough-like paste. This serves as the base for crafting these delicious egg-stuffed balls.
The beauty of this cassava recipe lies in its simplicity and versatility. Once you have your mashed cassava ready, small portions are flattened to encase boiled eggs, creating perfectly round balls that are then fried to golden perfection. The result is a crispy outer layer that gives way to a soft interior with a surprise center—a whole egg that adds an extra layer of flavor and nutrition.
Cassava egg balls can be enjoyed as an appetizer or snack at any time of day, offering both comfort and sustenance. Whether served at family gatherings or festive occasions, they bring people together with their irresistible taste and satisfying texture. Exploring this traditional snack is not just about savoring its flavors but also appreciating the cultural heritage it represents in culinary traditions worldwide.
Tip 1: Choosing the Right Cassava for Maximum Flavor and Texture
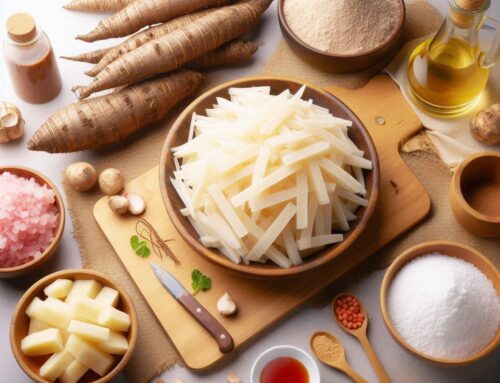
When it comes to cooking with yucca, also known as cassava, selecting the right root is crucial for achieving maximum flavor and texture in your dishes. The best cassava selection begins at the market, where you’ll want to look for roots that are firm and free from blemishes or soft spots. Fresh cassava should have a clean, earthy scent—avoid any that have an off-putting odor as this may indicate spoilage.
To ensure the ideal cassava texture in your culinary creations, pay attention to its skin and flesh. The skin should be brown and easy to peel away without much resistance, revealing a creamy white interior. If you notice any discoloration or streaks within the flesh, it’s best to choose another root.
Once you’ve selected fresh cassava, proper preparation is key. Before cooking with yucca, make sure to peel it thoroughly and remove any fibrous veins running through the center. This will help you achieve a smooth consistency in your dishes while enhancing the natural flavors of this versatile ingredient.
By following these tips for choosing high-quality cassava, you’ll set a solid foundation for delicious meals that highlight both its unique taste and texture.
Tip 2: Mastering the Art of Boiling and Mashing Cassava
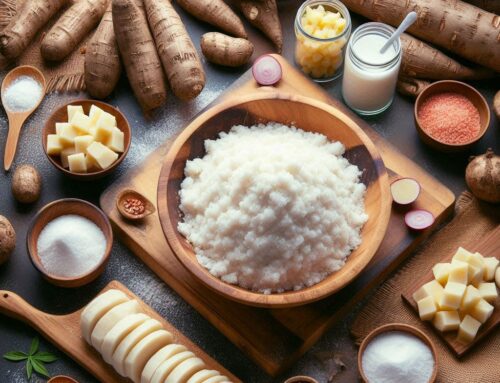
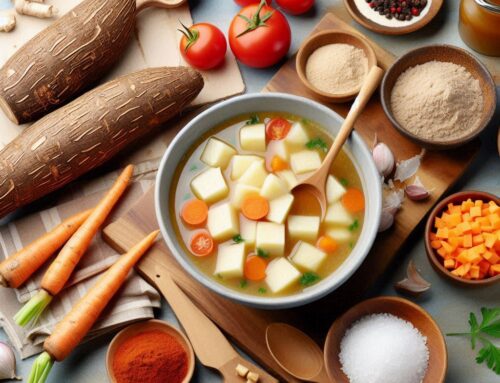
Boiling and mashing cassava, also known as yucca, is an art that transforms this starchy root into a delicious and versatile dish. To boil cassava perfectly, start by peeling the tough outer skin and cutting the root into manageable pieces. Rinse thoroughly to remove any dirt or impurities. Place the pieces in a large pot of salted water, ensuring they are fully submerged. Bring the water to a boil over medium-high heat, then reduce the heat to maintain a gentle simmer. Cook for about 20-30 minutes or until the cassava is tender when pierced with a fork.
Once boiled to perfection, it’s time to master your mashing techniques for that ideal smooth mash consistency. Drain the cooked cassava and return it to the pot or transfer it to a bowl. Using a potato masher or fork, begin mashing while still warm for best results. For an extra creamy texture, consider adding butter or olive oil along with some milk or cream as you mash.
Remember that achieving smooth mash consistency depends on evenly boiling each piece of cassava; uneven cooking can lead to lumps in your mash. With these tips in mind, you’ll be well on your way to preparing yucca for cooking like a pro!
Tip 3: Seasoning Your Mixture for a Burst of Flavor in Every Bite
When it comes to crafting the perfect cassava balls, seasoning is key to ensuring a burst of flavor in every bite. Achieving the right balance can elevate your dish from ordinary to extraordinary. Here are some essential seasoning tips to guide you.
Start by selecting a combination of spices that complement the natural nuttiness of cassava. Common spices for cassava balls include garlic powder, onion powder, and paprika. These provide a robust foundation of flavor. For those who enjoy a bit of heat, consider adding cayenne pepper or chili flakes for an extra kick.
Creating the perfect seasoning blend involves more than just choosing spices; it’s about understanding their proportions as well. A good rule of thumb is to start with smaller quantities and gradually increase until you achieve your desired taste profile. Remember, it’s easier to add more spice than it is to correct an over-seasoned mixture.
Don’t forget about herbs! Fresh or dried herbs such as parsley or cilantro can add another layer of flavor complexity and freshness to your cassava balls. Finally, always taste your mixture before cooking—this will give you a chance to adjust any flavors as needed.
By following these seasoning tips and experimenting with different combinations, you’ll be able to enhance the flavor profile of your cassava balls significantly, ensuring each bite is packed with deliciousness.
Tip 4: Crafting the Ideal Egg Filling to Complement Your Dish
Creating the perfect egg filling is an art that can elevate any dish, from simple snacks to gourmet meals. When it comes to egg filling preparation, the key is balancing flavors and textures to enhance your recipe. Start by hard-boiling your eggs, ensuring they are cooked just right—firm but not overdone—to provide a robust base for your filling.
Once your eggs are ready, carefully scoop out the yolks and mash them until smooth. This forms the foundation of most stuffing techniques for snacks and other dishes. To this base, you can add a variety of ingredients depending on the flavor profile you’re aiming for. Classic additions include mayonnaise or Greek yogurt for creaminess, mustard for tanginess, and finely chopped herbs like chives or dill for freshness.
For those looking to experiment beyond traditional fillings, consider incorporating more adventurous flavors such as smoked salmon bits, avocado slices, or even a hint of sriracha sauce for heat. Remember that texture plays an important role; adding crunchy elements like diced celery or pickles can create delightful contrasts in each bite.
Ultimately, crafting an ideal egg filling involves a mix of creativity and precision. By understanding how different ingredients interact with hard-boiled eggs in recipes, you can tailor your stuffing techniques to suit any occasion or taste preference. Whether you’re preparing deviled eggs as appetizers or adding filled eggs to salads and sandwiches, mastering this skill will undoubtedly impress your guests and enhance your culinary repertoire.
Tip 5: Frying Techniques to Achieve a Crispy and Golden-Brown Exterior
Achieving that perfect crispy and golden-brown exterior on your fried snacks is an art, but with the right techniques, you can master it in no time. Here are some essential frying tips to ensure your snacks come out perfectly every time.
Firstly, selecting the right oil is crucial. Opt for oils with a high smoke point like canola or peanut oil, which allow for higher cooking temperatures without burning. This helps achieve that coveted golden-brown food texture without imparting any unwanted flavors.
Next, temperature control is key. Always preheat your oil to the recommended temperature—usually between 350°F and 375°F—before adding your ingredients. Using a thermometer can help maintain consistent heat throughout the frying process, preventing soggy or unevenly cooked results.
Another important tip is not overcrowding the pan. Frying too many pieces at once lowers the oil’s temperature, leading to greasy snacks instead of crisp ones. Cook in small batches to maintain optimal heat levels and ensure each piece has enough space to crisp up beautifully.
Additionally, proper preparation of your ingredients can make a significant difference. Patting them dry before frying removes excess moisture that could otherwise cause splattering and inhibit browning.
Finally, draining excess oil after frying is essential for maintaining crispness. Use a wire rack over a baking sheet rather than paper towels; this prevents steam from making your snacks soggy while they cool down.
By following these crisp frying methods and paying attention to details like oil choice and temperature management, you’ll be well on your way to creating irresistibly crispy and golden-brown snacks every time you fry!
Conclusion: Serving and Enjoying Your Perfectly Made Cassava Egg Balls
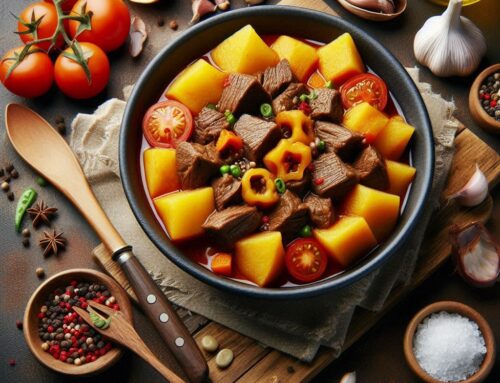
As you reach the final step in your culinary journey with cassava egg balls, it’s time to think about how to serve and savor this delightful traditional snack. Dishing up snacks creatively can elevate the experience, turning a simple dish into an enticing feast for both the eyes and palate. Consider presenting your cassava balls on a vibrant platter adorned with fresh herbs or colorful vegetables to add an inviting touch.
For serving suggestions, pairing these crispy delights with a tangy dipping sauce or a spicy salsa can enhance their flavor profile and offer a complementary taste sensation. You might also explore serving them alongside a fresh salad or as part of an appetizer platter featuring other traditional dishes, creating a diverse array of textures and tastes.
Enjoying traditional dishes at home is not just about eating; it’s about connecting with cultural roots and sharing moments with loved ones. Whether you’re hosting friends or enjoying a quiet family meal, cassava egg balls provide both nourishment and nostalgia. So gather around the table, relish each bite, and celebrate the simplicity and joy that comes from homemade comfort foods.