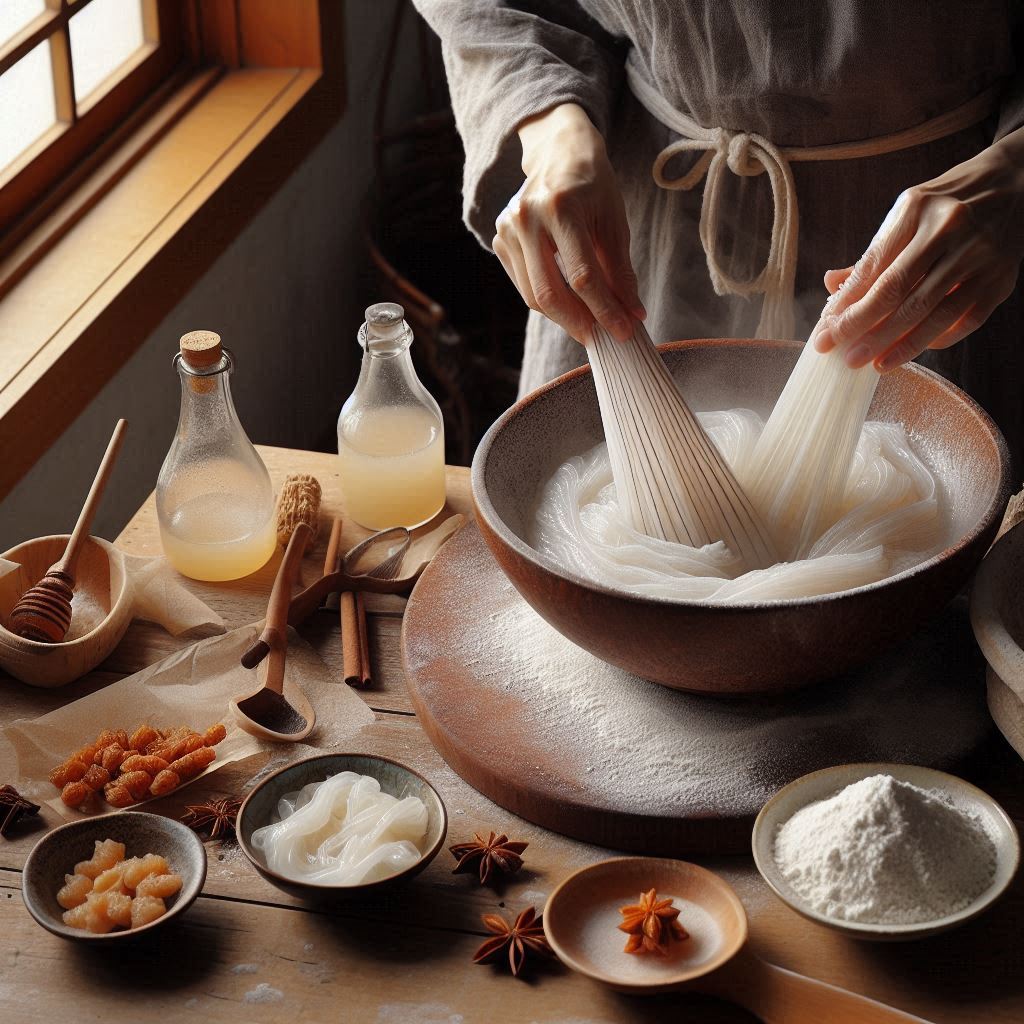
Introduction: What is Konnyaku and Why is it Popular?
Konnyaku, also known as konjac, is a traditional Japanese food that has gained popularity worldwide due to its unique texture and impressive health benefits. Made from the root of the konjac plant, this versatile ingredient is often used in various dishes for its ability to absorb flavors while adding a satisfying chewiness. One of the primary reasons for its rising popularity is its status as a low-calorie food, making it an excellent choice for those looking to manage their weight or maintain a healthy diet.
Rich in dietary fiber and virtually free of fat and carbohydrates, konnyaku serves as an ideal substitute for higher-calorie ingredients in many recipes. It’s particularly favored by those following low-carb or ketogenic diets. The health benefits of konnyaku extend beyond weight management; it has been linked to improved digestion and better blood sugar control due to its high glucomannan content—a type of soluble fiber known for promoting gut health.
In Japan, konnyaku has been consumed for centuries not only as a staple food but also for its purported detoxifying properties. Today, it continues to be celebrated both domestically and internationally as people seek healthier alternatives in their culinary endeavors. Whether incorporated into soups, stir-fries, or even desserts, konnyaku offers a nutritious option that aligns with modern dietary trends while honoring traditional Japanese cuisine.
Understanding the Ingredients: What You Need to Make Konnyaku
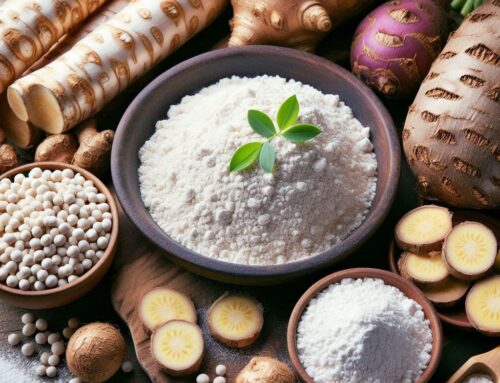
Konnyaku, a traditional Japanese food, is renowned for its unique texture and health benefits. To make this versatile ingredient, understanding the key components is essential. At the heart of konnyaku production is konjac powder, derived from the root of the konjac plant. This powder serves as the primary base and provides the distinct gelatinous quality that konnyaku is known for.
Another crucial ingredient in making konnyaku is calcium hydroxide, often referred to as pickling lime or slaked lime. This compound acts as a coagulant, transforming the liquid mixture into a firm jelly-like consistency. The reaction between calcium hydroxide and konjac powder not only solidifies the mixture but also enhances its chewy texture.
Lastly, water plays an integral role in dissolving and mixing these ingredients together. It helps to activate the gelling properties of konjac powder when combined with calcium hydroxide. When preparing your own konnyaku at home, ensuring you have these three ingredients—konjac powder, calcium hydroxide, and water—will enable you to create this fascinating food item successfully.
By understanding this simple yet effective **konnyaku ingredients list**, you can appreciate how each component contributes to creating a staple that has been cherished in Japanese cuisine for centuries.
Step 1: Preparing the Konjac Mixture
Preparing the konjac mixture is a crucial first step in creating the perfect konnyaku base. To begin, gather all necessary ingredients and tools: konjac powder, water, and a mixing bowl. Understanding how to dissolve konjac powder effectively will ensure a smooth and consistent texture.
Start by measuring the appropriate amount of konjac powder as specified in your recipe. It’s important to note that this ingredient has unique properties that require careful handling. Slowly add the konjac powder to cold water while continuously stirring. This gradual incorporation helps prevent clumping, ensuring an even distribution throughout the mixture.
Once fully combined, allow the mixture to sit for a few minutes before applying heat. This resting period is essential as it allows the konjac powder to hydrate properly, forming a gel-like consistency that is characteristic of a well-prepared konnyaku base.
Next, gently heat the mixture on low to medium heat while continuing to stir steadily. The key here is patience; do not rush this process by using high temperatures as it may affect the final texture of your product. As you stir, you’ll notice the mixture thickening gradually into a uniform gel.
By following these steps carefully when mixing and dissolving konjac powder, you set up your dish for success with a perfectly prepared konnyaku base ready for further culinary adventures.
Step 2: Shaping and Cooking Your Konnyaku
Once you’ve prepared your konnyaku mixture, the next step is shaping and cooking it to perfection. Shaping konnyaku blocks is a crucial process that determines the texture and versatility of your final product. Start by pouring the konnyaku mixture into a mold or container, allowing it to set into firm blocks. This typically takes about 30 minutes at room temperature.
After setting, it’s time to move on to the boiling process for konnyaku, which is essential for achieving its characteristic chewy texture. Carefully remove the konnyaku from its mold and cut it into desired shapes—common choices include cubes or thin slices. Bring a pot of water to a boil and gently add the shaped konnyaku pieces.
The cooking time for homemade konnyaku usually ranges from 20 to 30 minutes. During this period, ensure that all pieces remain submerged in boiling water for even cooking. This step not only firms up the texture but also helps eliminate any residual bitterness from the calcium hydroxide used during preparation. Once cooked, drain and rinse your konnyaku under cold water before using it in your favorite recipes or storing it for later use.
Step 3: Cooling and Storing Your Homemade Konnyaku
Once you’ve successfully crafted your homemade konnyaku, the next crucial step is ensuring it is properly cooled and stored to maintain its unique texture and freshness. After cooking, allow the konnyaku to cool at room temperature for about an hour. This gradual cooling helps set its firm, jelly-like consistency without compromising its quality.
When it comes to storing your konnyaku, refrigeration is key. Place the cooled konnyaku in an airtight container to prevent it from absorbing any odors from other foods in the fridge. The optimal storage temperature for konnyaku is between 35-40°F (1-4°C), which will help preserve its texture and flavor.
For those who have made a konjac cake or flavored variations of this versatile jelly, similar refrigeration tips apply. Ensure that each piece is separated with parchment paper if stacking them in a container; this prevents sticking and maintains their presentation quality.
Properly stored, homemade konjak jelly can last up to two weeks in the refrigerator. However, always check for any changes in smell or texture before consuming, as these could indicate spoilage. By following these simple steps, you can enjoy your homemade konnyaku at its best for days to come.
Troubleshooting Common Issues When Making Konnyaku at Home
Making konnyaku at home can be a rewarding culinary experience, but it often comes with its own set of challenges. One of the most common issues faced by home cooks is achieving the perfect konjak texture. If your konnyaku turns out too soft or fails to set properly, there are a few key factors to consider.
Firstly, ensure that you are using the right type and amount of konjac flour or powder. The quality and freshness of this ingredient play a crucial role in the final texture. If you find yourself asking, “Why won’t my konyakku set?” it might be due to insufficient mixing or incorrect measurements. Thoroughly mix the konjac powder with water before heating to ensure even distribution and proper gel formation.
Another common mistake is not cooking the mixture long enough. Konnyaku requires adequate heat for gelatinization; thus, make sure to simmer it for at least 30 minutes while stirring continuously to prevent clumping and uneven setting.
If you’ve encountered problems with your conyac’s consistency, consider adjusting the pH level by adding a small amount of calcium hydroxide (also known as pickling lime). This can help in achieving a firmer texture.
By understanding these troubleshooting tips and being mindful of each step in the process, you can overcome common mistakes and enjoy homemade konnyaku with confidence.
Culinary Uses of Homemade Konnyaku in Everyday Meals
Homemade konnyaku, often referred to as “devil’s tongue jelly,” offers a versatile ingredient for those looking to add unique textures and health benefits to their meals. Known for its low-calorie content and high fiber, konnyaku can be creatively incorporated into a variety of dishes.
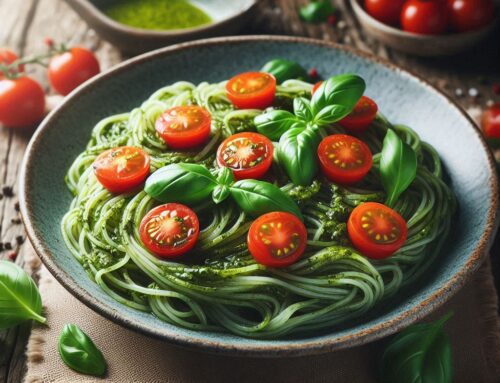
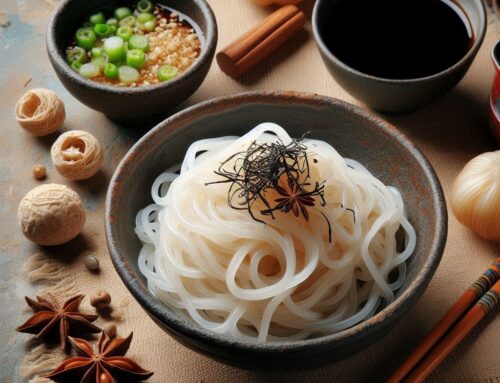
One popular use of konnyaku is in noodle form. Dishes with konyak noodles are not only satisfying but also provide a guilt-free alternative to traditional pasta. These noodles can be tossed into stir-fries, soups, or salads, absorbing the flavors of accompanying ingredients while maintaining their chewy texture.
For those interested in using conyak in recipes beyond noodles, consider incorporating it into stews or hot pots. The jelly-like consistency of conniac makes it an excellent addition to broths where it absorbs flavors beautifully without breaking down during cooking.
Creative ways to cook with conniac jelly extend beyond savory dishes. Try slicing it thinly and marinating with soy sauce and sesame oil for a refreshing salad topping or dessert component that adds an unexpected twist.
Experimenting with homemade konnyaku opens up endless possibilities in the kitchen, allowing you to enjoy its distinctive qualities across various culinary applications.


