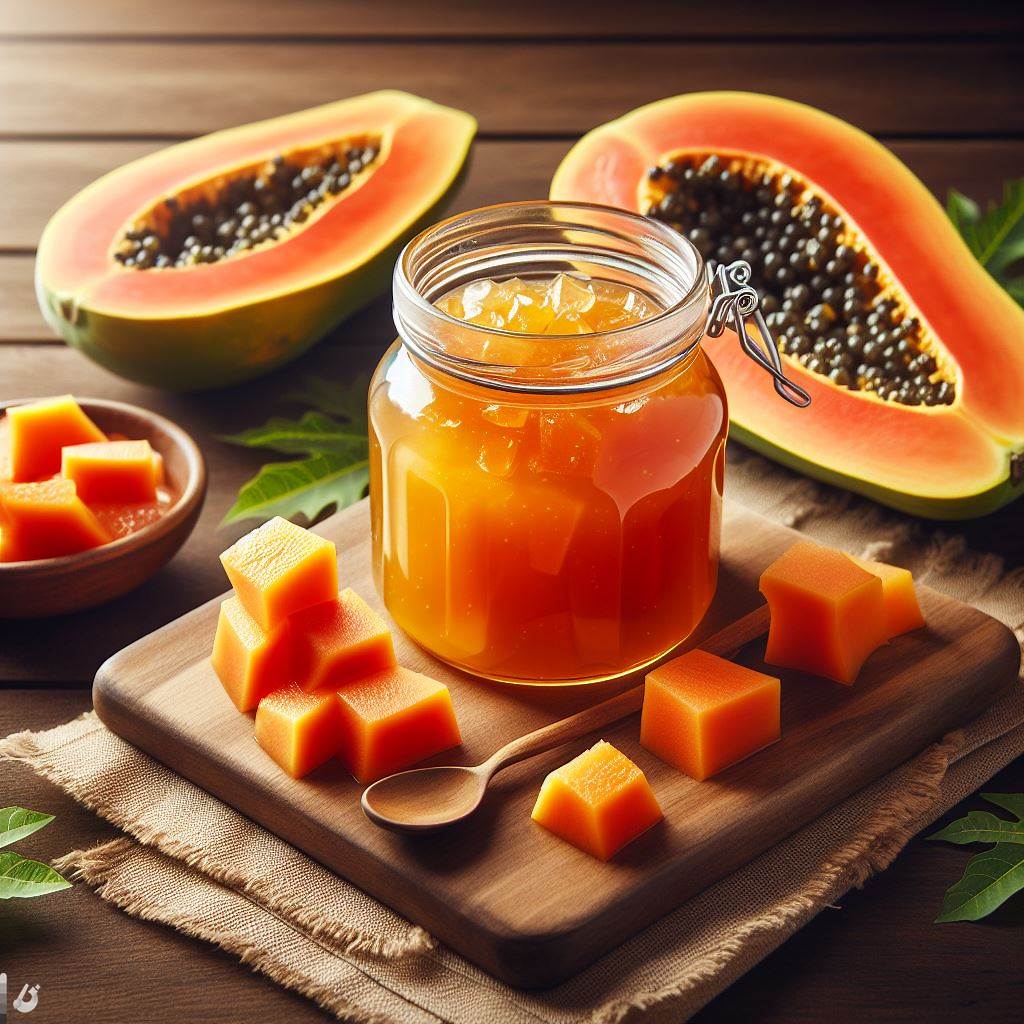
Introduction: Exploring the Sweet and Tangy World of Papaya Jelly
Welcome to the delightful world of papaya jelly! In this section, we will take a closer look at this sweet and tangy treat that is sure to tantalize your taste buds. Whether you’re a fan of homemade jellies or simply looking for new tropical fruit recipes, papaya jelly is a must-try.
Papaya jelly is made from the luscious and vibrant tropical fruit – papaya. Known for its vibrant orange flesh and unique flavor profile, papayas are not only delicious on their own but also make for a fantastic ingredient in various culinary creations.
Homemade papaya jelly offers a delightful combination of sweetness and tanginess that perfectly captures the essence of this tropical fruit. It can be enjoyed spread on toast, paired with cheese or crackers, or even used as a filling in pastries and cakes.
In this section, we will explore different recipes and techniques to create your own batch of delectable papaya jelly. From traditional methods to creative variations, you’ll discover how to harness the natural flavors of papayas to create a truly mouthwatering spread.
So get ready to embark on a journey through the world of papaya jelly – where sweetness meets tanginess in perfect harmony. Let’s dive into the wonderful realm of homemade jams and embrace the tropical flavors that papayas have to offer!
Step 1: Gather the Ingredients and Equipment You’ll Need
To begin making your homemade papaya jam, it’s important to gather all the necessary ingredients and equipment. Here is a list of what you’ll need:
- Papaya: Select ripe papayas for the best flavor and texture. Make sure they are firm but not overly ripe.
- Sugar: Granulated sugar is typically used in jam recipes to add sweetness and act as a preservative.
- Lemon Juice: Freshly squeezed lemon juice helps balance the sweetness of the jam and also acts as a natural pectin source.
- Pectin: Pectin is a natural thickening agent that helps give the jam its desired consistency. You can find it in powder or liquid form at most grocery stores.
- Canning Jars: Use clean, sterilized glass jars with tight-fitting lids to store your homemade papaya jam. Ensure they are suitable for canning purposes and have been properly sanitized.
- Saucepan: You’ll need a large saucepan or pot to cook the papaya jam mixture over medium heat.
By gathering these ingredients and equipment beforehand, you’ll be well-prepared to start making your delicious homemade papaya jam in an organized manner.
Step 2: Prepare the Papaya for Jelly Making
Preparing the papaya is an essential step in making jelly from this delicious fruit. To ensure a smooth and successful jelly-making process, it is important to properly handle and prepare the ripe papayas by peeling and seeding them.
To begin, select ripe papayas that are firm yet slightly soft to the touch. Ripe papayas will have a vibrant orange or yellow color and yield slightly when pressed. Avoid using overripe or underripe papayas as they may affect the taste and texture of the jelly.
Start by washing the papayas under cool running water to remove any dirt or debris from the skin. Then, place the papaya on a clean cutting board and use a sharp knife to carefully cut off both ends of the fruit.
Next, stand the papaya upright on one of its cut ends and use a vegetable peeler or a knife to peel away the skin in downward strokes. Make sure to remove all of the outer skin, including any green parts that may be present.
Once peeled, slice open the papaya lengthwise with a sharp knife. Use a spoon or melon baller to scoop out all of the seeds from each half of the fruit. The seeds can be discarded as they are not used in jelly making.
After removing all of the seeds, cut each half into smaller pieces for easier handling during cooking. The size of these pieces can vary depending on personal preference or recipe instructions.
With your peeled and seeded papaya prepared, you are now ready to proceed with making delicious homemade jelly using this tropical fruit as your main ingredient.
Step 3: Create the Flavorful Papaya Juice Base
To create a delicious and refreshing papaya juice, you will first need to extract the juice from the papayas. There are a few different methods you can use to do this, depending on your preference and available equipment.
One common method is blending or mashing the papayas. Start by peeling and removing the seeds from the papayas. Then, cut them into small pieces and add them to a blender or food processor. Blend until smooth, ensuring that all chunks are fully pureed.
If you don’t have a blender or prefer a more traditional approach, you can also mash the papayas using a fork or potato masher. Simply place the peeled and deseeded papaya pieces in a bowl and mash them until they reach a smooth consistency.
Once you have extracted the juice from the papayas, it’s time to strain out any pulp or solids for a smoother texture. You can use a fine-mesh strainer or cheesecloth to separate the juice from any remaining fibers or solids. Gently pour the blended or mashed mixture through the strainer, allowing gravity to do its work.
Make sure to press down on any remaining pulp with a spoon or spatula to extract as much juice as possible. This will help maximize flavor and yield.
Congratulations! You now have your flavorful papaya juice base ready for further enhancements such as adding sweeteners, ice cubes, or other fruits for added taste and presentation. Enjoy your homemade papaya juice!
Step 4: Cooking and Thickening the Papaya Juice Mixture
Once you have prepared the papaya juice mixture for making jelly, the next step is to cook and thicken it. This process involves adding sugar and lemon juice to the papaya juice mixture, as well as boiling and reducing the mixture with pectin.
To begin, measure out the desired amount of sugar according to your recipe. The amount of sugar needed may vary depending on personal preference or specific jelly-making instructions. Add the sugar to the papaya juice mixture in a large saucepan or pot.
Next, squeeze fresh lemon juice into the saucepan with the papaya juice mixture. Lemon juice serves multiple purposes in this step. It helps enhance the flavor of the jelly and also acts as a natural source of pectin, which aids in thickening.
Once you have added both sugar and lemon juice to the papaya mixture, place it over medium heat on your stovetop. Stir gently until all ingredients are well combined.
As you continue heating, bring the mixture to a boil while stirring occasionally. Boiling helps dissolve the sugar completely and allows for proper thickening later on.
After reaching a boil, reduce heat slightly to maintain a gentle simmer. At this point, it’s time to incorporate pectin into your papaya mixture. Pectin is a natural substance found in fruits that helps achieve that desired gel-like consistency in jellies.
Follow your specific recipe instructions for adding pectin to your papaya mixture. This may involve sprinkling powdered pectin over the simmering liquid or using liquid pectin instead. Be sure to stir continuously while adding pectin to prevent clumping or uneven distribution.
Continue simmering and stirring for a designated amount of time specified by your recipe or until desired thickness is achieved. This can range from approximately 10-20 minutes depending on various factors such as the amount of liquid and pectin used.
Once the mixture has thickened to your liking, remove it from heat and allow it to cool slightly before transferring it into sterilized jars for storage. The cooling process will further aid in setting the jelly.
By following these steps, you can successfully cook and thicken your papaya juice mixture into a delicious jelly using sugar, lemon juice, and pectin. Enjoy the fruits of your labor as you savor homemade papaya jelly on toast or as a delightful accompaniment to various dishes.
Step 5: Filling and Sealing Your Canning Jars with Papaya Jelly
After following the necessary steps to prepare your papaya jelly mixture and sterilize your canning jars, it’s time to move on to the final step of the canning process – filling and sealing the jars.
- Prepare a clean and organized workspace: Before you begin filling the jars, make sure you have a clean and spacious area to work in. This will help ensure that the process goes smoothly and that there is minimal risk of contamination.
- Carefully pour hot jelly mixture into jars: Using a ladle or a heat-resistant measuring cup, carefully pour the hot papaya jelly mixture into each prepared canning jar, leaving about 1/4 inch of headspace at the top. Take care not to overfill the jars as this may prevent proper sealing.
- Remove any air bubbles: Gently tap each filled jar on a countertop or use a non-metallic utensil such as a chopstick to remove any trapped air bubbles in the jelly mixture. This step is important for achieving proper preservation and preventing spoilage.
- Wipe jar rims clean: Before sealing each jar, use a clean damp cloth or paper towel to wipe away any spills or residue from the rims of the jars. This ensures that no food particles interfere with creating an effective seal.
- Secure lids tightly: Place sterilized lids onto each filled jar, making sure they are centered properly. Then, screw on the bands firmly but not overly tight. The goal is to create a secure seal without distorting or damaging the lid or jar.
- Process according to recipe instructions: Depending on your recipe, you may need to further process your filled and sealed jars by using either water bath canning or pressure canning methods for safe preservation. Follow your recipe’s instructions carefully for this final step.
By following these steps for filling and sealing your canning jars with papaya jelly, you can ensure that your homemade jelly remains fresh, flavorful, and safe to consume for an extended period of time.
Step 6: Enjoying Your Homemade Papaya Jelly
After all the hard work and patience that went into making your homemade papaya jelly, it’s time to savor the fruits of your labor. Here are some serving suggestions to enhance your enjoyment:
- Spread it on toast or crackers: The sweet and tangy flavor of papaya jelly pairs perfectly with a crispy slice of toast or a crunchy cracker. It makes for a delightful breakfast or snack option.
- Use it as a topping: Drizzle some papaya jelly over pancakes, waffles, or French toast for an extra burst of flavor. You can also add it to yogurt, ice cream, or cheesecake for a fruity twist.
- Pair it with cheese: Papaya jelly can be paired with various types of cheese to create a delicious combination of sweet and savory flavors. Try serving it alongside mild cheeses like brie or goat cheese for an appetizing treat.
Now that you’ve enjoyed your homemade papaya jelly, you might have some leftovers that you want to store properly for a longer shelf life. Here are some tips:
- Refrigerate promptly: Transfer any leftover jelly into clean, airtight containers and place them in the refrigerator as soon as possible after use. This helps maintain its freshness and extends its shelf life.
- Label and date: To keep track of how long the jelly has been stored, label each container with the date it was made or stored in the refrigerator.
- Follow storage guidelines: Generally, homemade fruit jellies can be refrigerated for up to 3-4 weeks if stored properly. However, always check for any signs of spoilage such as mold growth or off smells before consuming.
By following these serving suggestions and proper storage techniques, you can fully enjoy your homemade papaya jelly while ensuring its longevity and freshness.


