Picture this: a steaming bowl of garri, perfectly fluffy and bursting with homemade goodness, all crafted by your own hands. Learning how to make garri from raw cassava might seem daunting at first, but it’s a surprisingly straightforward process that offers big rewards. Not only can you save money by skipping the store-bought versions, but you also get to enjoy the freshest garri possible—straight from your kitchen. Garri, a beloved West African staple made from cassava roots, is affordable, gluten-free, and incredibly versatile. Whether you’re aiming to trim your food budget or simply crave the satisfaction of DIY cooking, this guide will walk you through every step. From picking the perfect cassava to savoring your creation, let’s explore how to make garri from raw cassava and transform your meals with fresh, cost-saving flavor!
The Perks of Making Garri at Home
Why bother making garri yourself when you can buy it ready-made? The answer lies in the benefits—both practical and personal. For starters, mastering how to make garri from raw cassava slashes costs. Store-bought garri often comes with a markup, especially if you’re purchasing from specialty shops or in small batches. By sourcing raw cassava and doing it yourself, you could cut expenses by nearly half, depending on local prices. That’s more money in your pocket for other essentials—or treats!
Beyond savings, homemade garri offers unmatched freshness. You control every ingredient (or lack thereof), avoiding preservatives and additives found in some commercial brands. The result? A cleaner, tastier product with a texture and flavor that beats anything off the shelf. Plus, garri is naturally gluten-free and carbohydrate-rich, making it a fantastic energy boost for anyone, from busy parents to fitness enthusiasts. And let’s not forget the joy of crafting something traditional and meaningful—whether it’s a nod to your heritage or a new adventure in the kitchen.
Choosing the Best Cassava: Your Starting Point
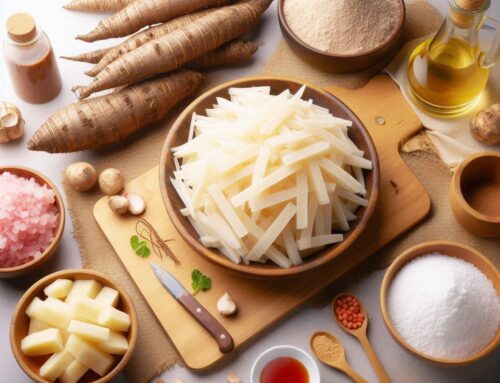
The secret to great garri begins with quality cassava. When learning how to make garri from raw cassava, selecting the right roots is non-negotiable. Head to your local market or grocery store and look for cassava that feels firm and heavy for its size. Avoid roots with soft spots, cracks, or a funky smell—these are signs of spoilage. Fresh cassava has a mild, earthy scent and a smooth, brown outer skin. If possible, ask when it was harvested; the fresher, the better.
Once home, preparation is key. Grab a sharp knife and peel away the tough brown skin, along with the thin pinkish layer beneath it. These layers contain compounds like cyanogenic glycosides, which can be toxic if not removed properly. After peeling, rinse the cassava under cold running water to clean off dirt and debris. Then, chop it into manageable chunks—about 2-3 inches long—to make the next step, grating, a breeze. If you’re using a manual grater, smaller pieces save effort. No grater? A food processor works just as well (more on that later). A quick tip: wear gloves during peeling to protect your hands from irritation.
With your cassava prepped, you’re ready to move forward.
Grating and Fermenting: Building Flavor from Scratch
Now that your cassava is peeled and chopped, it’s time to turn it into pulp—the foundation of garri. Grating is a critical step in how to make garri from raw cassava, and you’ve got options. Traditionally, a hand grater gets the job done, producing a fine, wet mash. If you’re short on time or elbow grease, a food processor or blender is a game-changer. Add a splash of water to help the blades glide, and pulse until you have a smooth, slightly gritty pulp. Aim for consistency—too coarse, and your garri might turn out lumpy.
Next up: fermentation. This step gives garri its distinctive tangy kick and ensures safety by breaking down any lingering toxins. Scoop the grated cassava into a clean, breathable sack—like a cheesecloth or burlap bag—and tie it shut. Place it in a warm, dry corner of your kitchen for 2-3 days. The warmth encourages lactic acid fermentation, which enhances flavor and texture. You’ll notice a sour aroma developing—that’s a good sign! For a subtler taste, ferment for just 1-2 days; for bold, authentic garri, stick with 3. Keep the sack undisturbed, and if liquid drips out, set it over a bowl or elevate it slightly. This hands-off process is simple yet transformative, setting the stage for perfect garri.
Pressing Out the Water: A Crucial Texture Trick
After fermentation, your cassava pulp is flavorful but soggy—time to press it. Removing excess moisture is essential in how to make garri from raw cassava because it creates that light, crumbly texture we all love. If you own a hydraulic press, you’re golden—load the pulp and let it do the work. No press? No sweat. Wrap the pulp in a sturdy cloth or sack, tie it tight, and pile on heavy objects—think a stack of books, a cast-iron pot, or even a bucket of water. Let it sit for 4-6 hours, checking occasionally to see the water seeping out.
The goal is a drier, almost cake-like pulp that crumbles when you touch it. Don’t rush this step—too much leftover moisture can make your garri clumpy or spoil faster. Once pressed, break the pulp apart with your hands or a fork to loosen it up. You’re now one step closer to the finish line, with a product that’s primed for drying. This low-tech method proves you don’t need fancy tools to succeed—just a bit of patience and creativity.
Drying and Frying: From Pulp to Golden Garri
With the water pressed out, drying is your next move in how to make garri from raw cassava. Spread the crumbled pulp thinly across a large tray or baking sheet—thinner layers dry faster. If you’ve got sunshine, place it outside in direct light for 1-2 days, stirring occasionally to ensure even drying. Living in a cloudy area? Use your oven instead. Set it to a low 150°F (65°C), spread the pulp on a tray, and dry for 3-4 hours, mixing every hour to avoid scorching. The pulp is ready when it’s bone-dry and breaks apart easily.
Now, the fun part: frying. Heat a wide, heavy skillet over medium heat—no oil needed. Add the dried pulp in small batches, stirring constantly with a wooden spoon. Watch as it shifts from pale to a warm golden hue, releasing a nutty scent. This takes 10-15 minutes per batch—keep stirring to prevent burning. When done, the garri should feel crisp and light. Spread it out to cool, then sift through a fine mesh to catch any stubborn chunks. Want it finer? A quick pulse in a blender does the trick. You’ve just turned raw cassava into golden garri—well done!
Storing and Serving: Making the Most of Your Garri
Your homemade garri is ready—now what? Proper storage keeps it fresh for months. Pour the cooled garri into an airtight container and stash it in a cool, dry spot, away from humidity. Done right, it’ll stay good for up to 6 months, though its deliciousness might tempt you to use it up sooner.
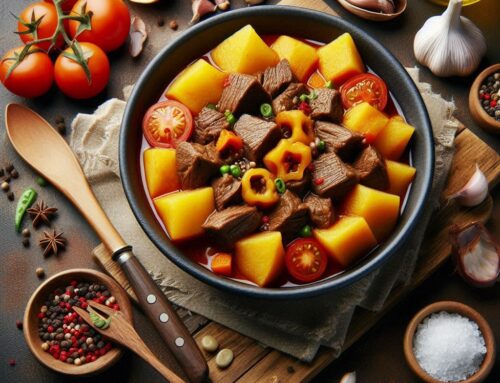
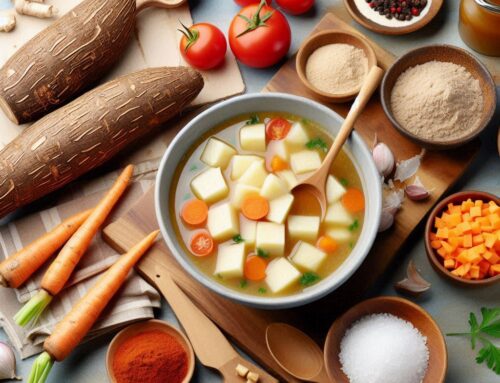
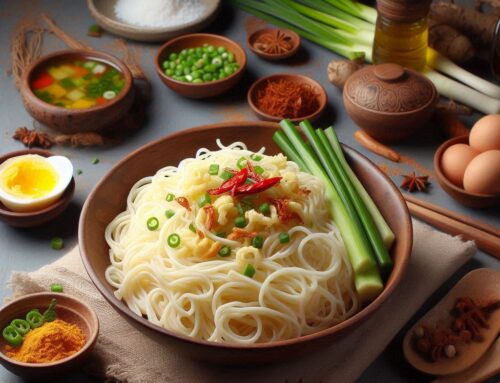
When it comes to enjoying garri, the possibilities are endless. Mix it with cold water and a pinch of sugar for a classic, refreshing snack—perfect for hot days. Pair it with hearty soups like egusi or vegetable stew for a filling meal. Feeling adventurous? Stir in milk, peanuts, or fruit for a modern twist. Knowing how to make garri from raw cassava means you’ve got a versatile, budget-friendly ingredient at your fingertips, ready to elevate any dish. The pride of making it yourself? That’s the cherry on top.
Conclusion
Mastering how to make garri from raw cassava is more than a kitchen skill—it’s a money-saving, flavor-packed journey. From picking fresh cassava to grating, fermenting, pressing, drying, and frying, each step builds a product that’s fresher and cheaper than anything store-bought. You’ll save cash, enjoy a healthier option, and maybe even spark a new cooking passion. So why not start today? Grab some cassava, follow this guide, and treat yourself to the satisfaction of homemade garri. Your wallet—and taste buds—will thank you. Happy cooking!