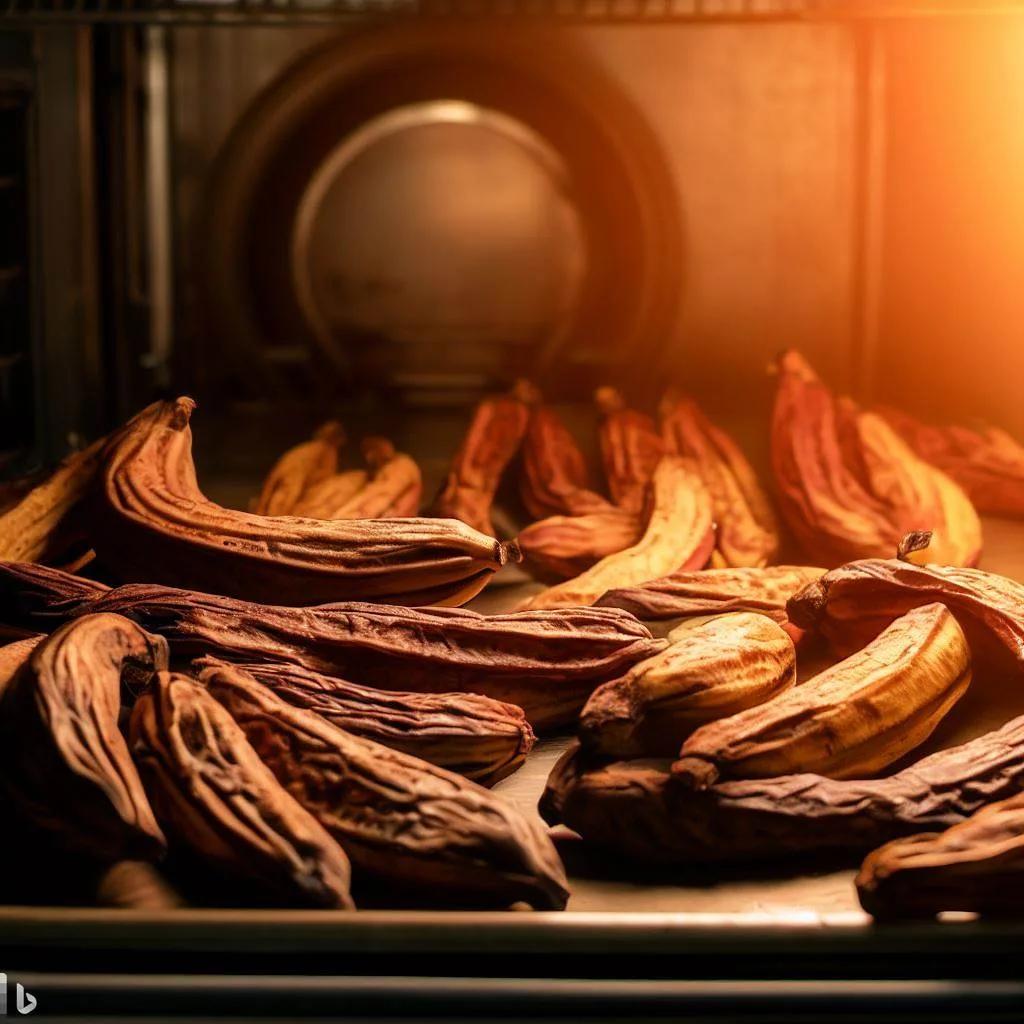
Bananas are a delicious and nutritious fruit that many people enjoy. However, they have a relatively short shelf life, especially when they become overripe. But fear not! There is a simple and efficient way to preserve bananas and extend their lifespan – drying them in the oven. In this ultimate guide, I will explain why drying bananas in the oven is a great option, the benefits of dried bananas, their nutritional value, and provide you with a step-by-step guide on how to do it. So, let’s get started on preserving the nutritional goodness of dried bananas!
Why Dry Bananas in the Oven?
Drying bananas in the oven is an excellent method for preserving them because it allows you to extend their shelf life without the need for any preservatives. When you dry bananas, you remove the moisture content, which inhibits the growth of bacteria and mold. This makes dried bananas a perfect snack for those who are conscious about their health and want to enjoy the natural sweetness of bananas without any added sugars or chemicals.
Benefits of Dried Bananas
Dried bananas offer several benefits that make them a great addition to your diet. Firstly, they are a convenient and portable snack. Unlike fresh bananas, which can get easily bruised and mushy when carried around, dried bananas are sturdy and can be taken with you wherever you go. They are perfect for hiking trips, long flights, or simply for having a healthy snack at work or school.
Secondly, dried bananas are a great source of energy. They are packed with natural sugars, which provide you with a quick energy boost when you need it the most. Whether you are an athlete, a student studying for exams, or simply feeling sluggish in the afternoon, a handful of dried bananas will give you the energy you need to power through.
Lastly, dried bananas are a versatile ingredient that can be used in various recipes. From granola bars to smoothies, bread, and even desserts, dried bananas add a delicious and natural sweetness to any dish. We will explore some creative ways to use dried bananas later in this guide, so stay tuned!
Nutritional Value of Dried Bananas
Dried bananas are not only tasty but also packed with essential nutrients. They are a great source of fiber, which aids digestion and helps maintain a healthy gut. Additionally, dried bananas contain potassium, an important mineral that helps regulate blood pressure and maintain proper heart function. They are also rich in vitamin C, which boosts the immune system and promotes overall health.
It’s important to note that drying bananas in the oven preserves most of their nutritional value. While some heat-sensitive vitamins may be slightly reduced, the overall nutrient content remains intact. This means that you can enjoy the nutritional goodness of dried bananas all year round, even when fresh bananas are out of season.
Step-by-Step Guide to Drying Bananas in the Oven
Now that we understand the benefits and nutritional value of dried bananas, let’s dive into the step-by-step process of drying them in the oven. Follow these simple instructions to create your own batch of delicious and nutritious dried bananas:
- Choose ripe bananas: Select bananas that are yellow with a few brown spots. These bananas have a higher sugar content, which results in sweeter dried bananas.
- Preheat the oven: Set your oven to the lowest temperature possible, usually around 130°F (55°C). This low heat will gently dehydrate the bananas without cooking them.
- Peel and slice the bananas: Peel the bananas and cut them into thin slices, approximately 1/4 inch thick. Try to keep the slices uniform for even drying.
- Arrange the slices on a baking sheet: Place the banana slices in a single layer on a baking sheet lined with parchment paper. Make sure they are not touching each other to allow for proper airflow.
- Bake in the oven: Put the baking sheet with the banana slices in the preheated oven. Leave the oven door slightly ajar to allow moisture to escape. The drying process typically takes around 4-6 hours, but it may vary depending on your oven and the thickness of the slices.
- Rotate and flip the slices: After the first 2-3 hours, gently flip the banana slices to ensure even drying. If necessary, rotate the baking sheet to promote uniform dehydration.
- Check for doneness: The dried bananas are ready when they are slightly leathery but not overly crispy. They should still retain some chewiness. Keep in mind that they will continue to dry slightly as they cool down.
- Cool and store: Once the banana slices are done, remove them from the oven and let them cool completely on a wire rack. Once cooled, store them in an airtight container or a resealable bag. They can be kept at room temperature for up to 2 weeks or refrigerated for longer shelf life.
Tips for Successful Banana Drying
Drying bananas in the oven may seem like a straightforward process, but there are a few tips and tricks that can help you achieve the best results. Consider these tips for successful banana drying:
- Choose ripe, but not overripe bananas: Bananas that are too green won’t dry properly, while those that are too ripe may become too mushy. Aim for bananas with a vibrant yellow color and a few brown spots.
- Slice the bananas evenly: Cutting the banana slices into uniform thickness ensures that they dry evenly. This will prevent some slices from becoming overly crispy while others remain chewy.
- Use parchment paper: Lining your baking sheet with parchment paper prevents the banana slices from sticking and makes it easier to remove them once they are dried.
- Leave the oven door slightly ajar: Allowing some airflow in the oven helps moisture escape and promotes even drying. Use a wooden spoon or a folded oven mitt to prop the oven door open slightly.
- Flip and rotate the slices: Flipping and rotating the banana slices during the drying process ensures that they dry evenly on both sides. This will result in uniformly dried slices with a consistent texture.
- Check for doneness: Keep a close eye on the banana slices as they approach the end of the drying time. Remove them from the oven when they are slightly leathery but still chewy. Over-drying will result in overly crispy and brittle slices.
Storing and Preserving Dried Bananas
Now that you have successfully dried your bananas, it’s important to store them properly to maintain their freshness and flavor. Follow these guidelines for storing and preserving dried bananas:
- Choose the right container: Store dried bananas in an airtight container or a resealable bag. This will protect them from moisture and air, which can cause them to become soft and lose their crispness.
- Keep them at the right temperature: Dried bananas can be kept at room temperature for up to 2 weeks. However, if you live in a humid climate, it’s best to store them in the refrigerator to extend their shelf life.
- Avoid exposure to light: Light can cause the color of dried bananas to fade and affect their flavor. Store them in a dark pantry or cupboard away from direct sunlight.
- Check for signs of spoilage: Before consuming dried bananas, always check for signs of spoilage such as mold, off smells, or a change in texture. If any of these are present, discard the dried bananas to avoid any potential health risks.
By following these storage guidelines, you can enjoy your homemade dried bananas for an extended period, ensuring that they stay fresh and delicious.
Creative Ways to Use Dried Bananas
Dried bananas are not only a healthy snack on their own but can also be incorporated into various recipes to add a touch of natural sweetness. Here are some creative ways to use dried bananas:
- Trail mix: Combine dried bananas with nuts, seeds, and other dried fruits to create a nutritious and energy-packed trail mix. It’s a perfect snack for hiking, camping, or any outdoor adventure.
- Smoothies: Add a few dried banana slices to your favorite smoothie recipe for a natural sweetener and a boost of flavor. They pair well with fruits like mango, pineapple, and berries.
- Granola bars: Chop dried bananas into small pieces and mix them into homemade granola bars for a delightful burst of sweetness and a chewy texture.
- Baking: Incorporate dried bananas into baked goods such as muffins, cookies, or bread. They add moisture, flavor, and a natural sweetness without the need for additional sugar.
- Overnight oats: Soak dried banana slices in milk or yogurt overnight with your oats for a delicious and nutritious breakfast. Wake up to a creamy and naturally sweet bowl of goodness!
These are just a few examples of how you can use dried bananas in your cooking and baking. Feel free to experiment and get creative with your own recipes!
Recipes Using Dried Bananas
To inspire you further in your culinary adventures with dried bananas, here are two simple and delicious recipes that make use of this nutritious ingredient:
Recipe 1: Dried Banana Energy Balls
Ingredients:
- 1 cup dried bananas, chopped
- 1 cup rolled oats
- 1/2 cup nut butter (such as almond or peanut butter)
- 1/4 cup honey or maple syrup
- 1/4 cup unsweetened shredded coconut
- 1/4 cup chopped nuts (such as almonds or walnuts)
- 1/4 cup dark chocolate chips (optional)
- 1 teaspoon vanilla extract
- Pinch of salt
Instructions:
- In a large bowl, combine the chopped dried bananas, rolled oats, nut butter, honey or maple syrup, shredded coconut, chopped nuts, dark chocolate chips (if using), vanilla extract, and salt. Mix well until all the ingredients are evenly distributed.
- Using your hands, roll the mixture into small bite-sized balls. Place them on a baking sheet lined with parchment paper.
- Refrigerate the energy balls for at least 1 hour to allow them to firm up. Once chilled, they are ready to be enjoyed as a quick and nutritious snack.
Recipe 2: Dried Banana Bread
Ingredients:
- 1 1/2 cups all-purpose flour
- 1 teaspoon baking powder
- 1/2 teaspoon baking soda
- 1/2 teaspoon salt
- 1/2 teaspoon ground cinnamon
- 1/4 teaspoon ground nutmeg
- 1/2 cup granulated sugar
- 1/4 cup unsalted butter, softened
- 2 large eggs
- 1 teaspoon vanilla extract
- 3 ripe bananas, mashed
- 1/2 cup dried bananas, chopped
Instructions:
- Preheat your oven to 350°F (175°C) and grease a 9×5-inch loaf pan.
- In a medium bowl, whisk together the flour, baking powder, baking soda, salt, cinnamon, and nutmeg. Set aside.
- In a large bowl, cream together the granulated sugar and softened butter until light and fluffy. Add the eggs, one at a time, mixing well after each addition. Stir in the vanilla extract.
- Gradually add the mashed bananas to the wet mixture, mixing until well combined.
- Gradually add the dry ingredients to the wet mixture, stirring until just combined. Be careful not to overmix.
- Gently fold in the chopped dried bananas.
- Pour the batter into the greased loaf pan and smooth the top with a spatula.
- Bake for 50-60 minutes, or until a toothpick inserted into the center of the bread comes out clean.
- Allow the banana bread to cool in the pan for 10 minutes, then transfer it to a wire rack to cool completely before slicing.
Enjoy these delicious recipes and let your imagination run wild with other ways to incorporate dried bananas into your meals and treats!
Health Benefits of Dried Bananas
In addition to their delicious taste and versatility, dried bananas offer numerous health benefits. Here are some of the key health benefits of incorporating dried bananas into your diet:
- Digestive health: Dried bananas are an excellent source of dietary fiber, which aids in digestion and helps maintain a healthy gut. Fiber adds bulk to your stool, promoting regular bowel movements and preventing constipation.
- Energy boost: Dried bananas are rich in natural sugars, including fructose, glucose, and sucrose. These sugars provide a quick and sustainable energy boost, making dried bananas an ideal snack before or after physical activity.
- Heart health: Dried bananas contain potassium, an essential mineral that helps regulate blood pressure and maintain proper heart function. A diet high in potassium has been linked to a reduced risk of hypertension and cardiovascular diseases.
- Immune system support: Dried bananas are a good source of vitamin C, which is known for its immune-boosting properties. Vitamin C helps protect against infections, supports wound healing, and promotes overall immune system function.
- Weight management: Despite their sweet taste, dried bananas have a lower calorie content compared to many other snacks. They are also rich in fiber, which promotes satiety and helps control appetite. Including dried bananas in your diet can aid in weight management and prevent overeating.
By incorporating dried bananas into your regular diet, you can enjoy these health benefits while satisfying your sweet tooth in a wholesome and nutritious way.
Conclusion
Drying bananas in the oven is a simple and effective way to preserve their nutritional goodness and extend their shelf life. From their convenience and portability to their energy-boosting properties and versatility in recipes, dried bananas are a fantastic addition to any healthy lifestyle. By following our step-by-step guide, you can easily dry bananas in the oven and enjoy their natural sweetness all year round.
Remember to choose ripe bananas, slice them evenly, and use low heat for gentle dehydration. With proper storage and preservation, your homemade dried bananas will stay fresh and delicious for weeks to come. Get creative with your dried banana recipes, and don’t forget to try our energy balls and banana bread recipes for a taste of wholesome goodness.
So, why wait? Grab some ripe bananas, fire up your oven, and embark on the journey of preserving the nutritional goodness of dried bananas. Your taste buds and your body will thank you!
*CTA: Try your hand at drying bananas in the oven and enjoy the nutritional goodness of this delicious and versatile snack. Share your favorite dried banana recipes in.


